A classic recipe emerged from a trip to the local Farmer's market. Walnut Hill Farm had a plethora of earthy, massive sweet potatoes spilling out of buckets on the table so I picked up a few to work with. I also made a stop by one of my favorite vendors, Alfredo’s Honey, and picked up a tub of whipped cinnamon honey (I think I am working on my 7th tub from him). The two market picks just seem to be a marriage made in heaven, right? Having not made a sweet potato pie before, I did a little research online and found a recipe that seemed to be in-line with what I had in the pantry and what I had picked up from the market. I modified it slightly by using a homemade gluten-free crust which will be featured on glutenfreerichmond.com, my new website created with a fellow Richmonder and lover of all things tasty and gluten-free. I also changed up the cinnamon portions since I was working with a cinnamon flavored honey. Here’s my take:
Cinnamon Honey Sweet Potato Pie
Filling Ingredients:
2 large, roasted sweet potatoes removed from skin (about 3 cups)
3 eggs, slightly beaten
1/3 cup Alfredo’s local cinnamon honey
1 teaspoon ground cinnamon
½ teaspoon salt
1/3 teaspoon ground ginger
½ teaspoon allspice
½ teaspoon nutmeg
½ cup melted butter
Preparation:
Start by dry roasting the sweet potatoes on a baking sheet in an oven set to 375° for about 50-60 minutes or until soft to the touch. Once cooled, scrape flesh from skin and place into a food processor, pulse until broken down. Add remaining ingredients, except butter and pulse until smooth. With the food processor on, drizzle in melted butter until combined.
Fill a par-baked, gluten-free pie crust (will fill a 10″ pie) and bake at 350° for 35 minutes. A knife inserted into the center should come out clean or the center of the pie should spring back when touched.


 and place in oven for about 10 minutes or until a nice caramelization forms. Flip once to get all sides evenly browned. Serve warm.
  over medium heat with about 1 tbsp olive oil. Sear the roast on all sides, about 2 minutes per side. Next, transfer the skillet with roast into an oven at 350° and roast for 15-20 minutes. The roast should rest under an aluminum foil tent for at least 5 minutes before slicing. Meat should come out juicy and slightly pink in the middle. For safety, internal temperature should be reach 160°.

 . Lightly press the crust into the pan, try not to stretch the dough since it will just shrink back to it's original shape when baked. Press the overlap against the pan edge and pull off, reserve for decoration. Fork the bottom of the crust to prevent it from bubbling up and bake for 5-7 minutes.
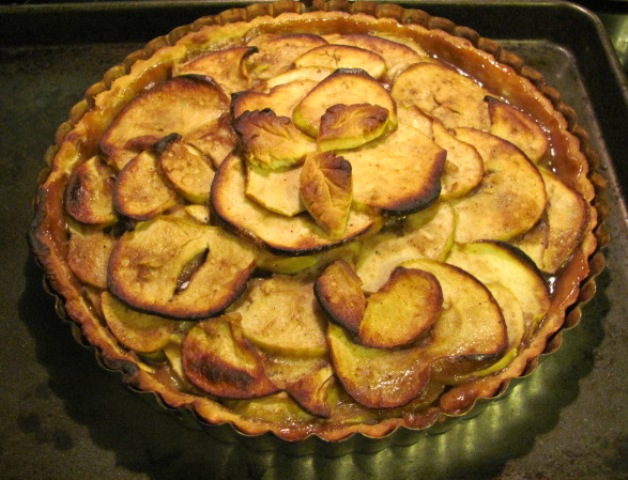
 and extract the core and stems. Next, use a
  to get thin, uniform slices. Pile the slices into the bourbon mixture and mix them up, making sure each slice is coated. Once the apples have been coated, sprinkle the last tbsp of flour over the slices and use a spoon to mix everything up again. At this point, there should be a good amount of liquid in the bottom of the bowl which can be discarded or drizzled it over the finished product.

 , slice side up and drizzle olive oil over, sprinkle with salt and pepper. That’s it! Roast the squash until the fibers start to break down and you can easily shred the ‘meat’ with a fork. It should fall right out of the shell when scraped. I’ve found the easiest way to scrape the veggie out is by leaving it in the dish and holding one side with my
 . Shred right in the shell and then transfer to a serving bowl.
 , add the greens, nuts and cheese. While the processor is on, stream in olive oil until the pesto reaches a creamy, loose consistency. Pesto is a preference food meaning, some like it chunky, some like it loose. Some like it with a lot of cheese, some with a little. It is a versatile sauce and dip and taste testing is always necessary. On the last whirl around the processor, add a little salt (go light, salt is already a big contributor in the cheese so seasoning began with that addition) and a few cracks of pepper to taste. The arugula will also help to give it a little bite so be sure to taste test as you go so as not to overdo the pepper.